Self-Portrait
Check out student examples here.
1. Canvas size
Make sure you see the edges of the canvas at 100%. Drag out the canvas size by clicking and dragging on the little squares on the side and bottom, you want to see the whole thing in your window.
2. Eyes
Draw one eye
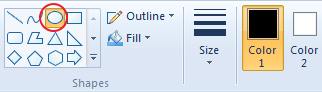
Select the Ellipse tool under "Shapes". Make sure your colors are the default (Color 1: black, Color 2: white).
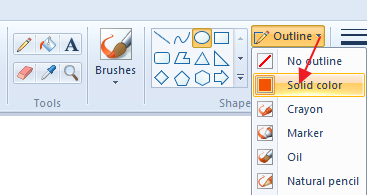
Set the Outline to "Solid"...
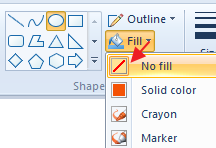
Set the Fill to "None"...
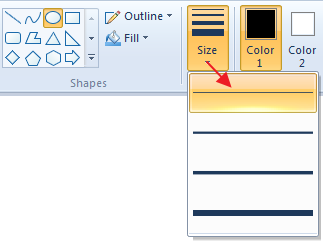
Set the Size to the thinnest possible...
Click and drag out the outside of an eye (oval or circle) to the size you like.
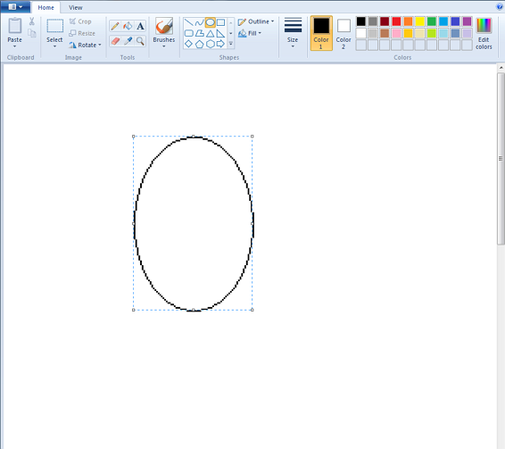
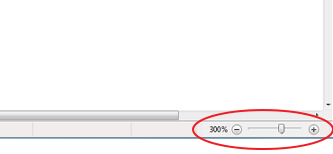
Zoom in
Zoom in to 300% while working! You can to make sure there are no gaps (so you can fill in with color), and add details. Use the slider at the bottom right of your window.
Click off after drawing to be able to start drawing the next shape. Then draw the 2 inside ones.
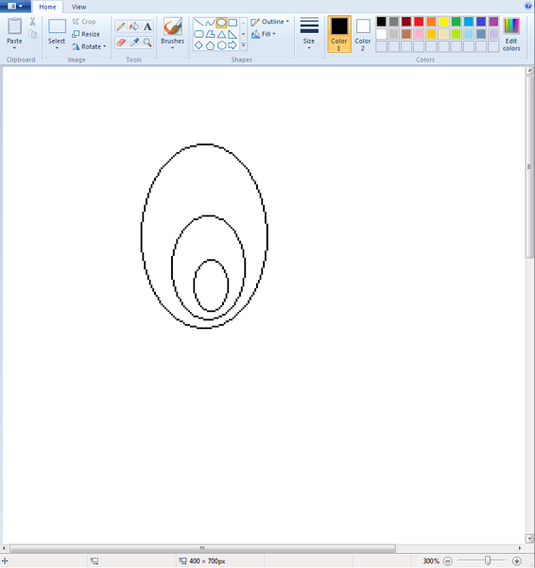
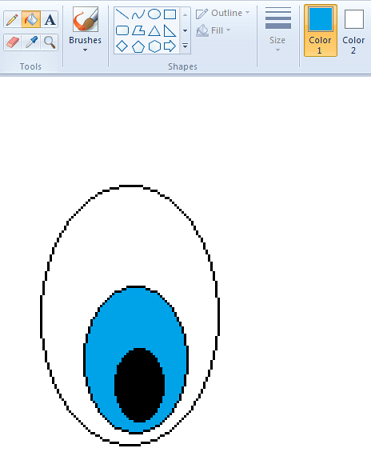
Fill in with color
Select the Paint Bucket and click in to set the pupil to black.

Click inside the pupil area...
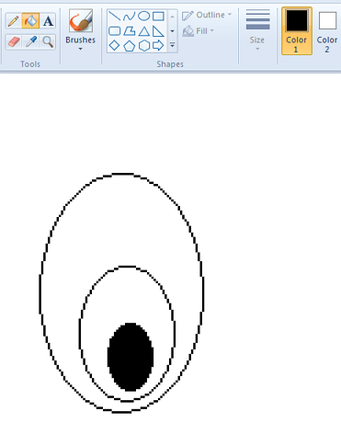
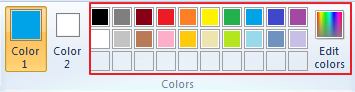
Then left-click on a color in the list of choices (or click on "Edit Color" and pick a unique color. This sets the Color 1.
Now click inside the iris part of the eye.
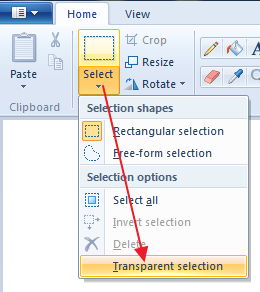
Copy the eye you've made
Set the Select tool to be "Transparent".
Make sure your background color (Color 2) is white. The foreground color doesn't matter for this step.a

Click and drag an area around the eye (don't be too close to the edges).

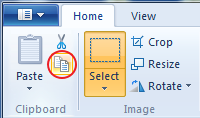
Copy (using the toolbutton or keyboard shortcut CTRL+C).
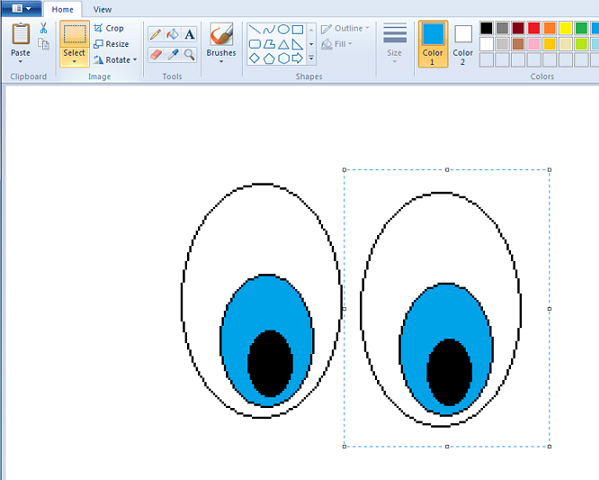
Paste (CTRL+V) - it will show up in the top left corner. Click on it when you see a white 4-pointed arrow, and drag it to the right...
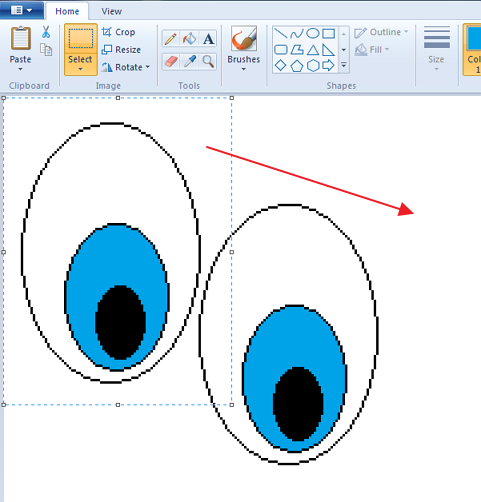
... until it's beside the first eye.
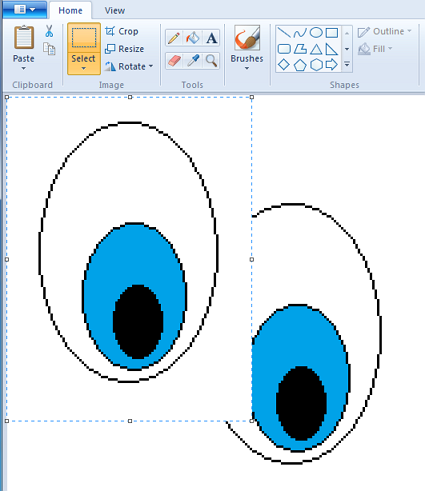
If you didn't set Select to "Transparent", the copy will be filled with white (as shown below)...if this happens, don't click off, just go to Select... and choose "Transparent". Then continue.
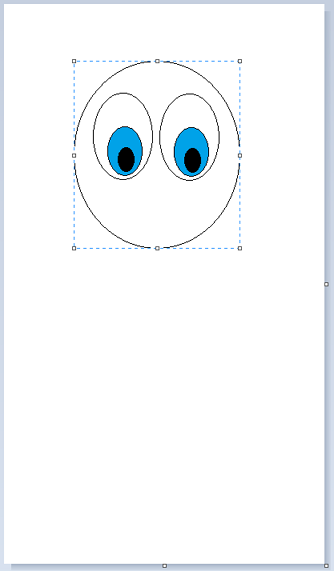
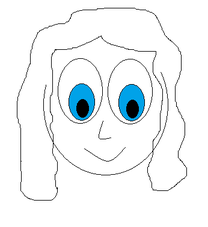
Position the eyes
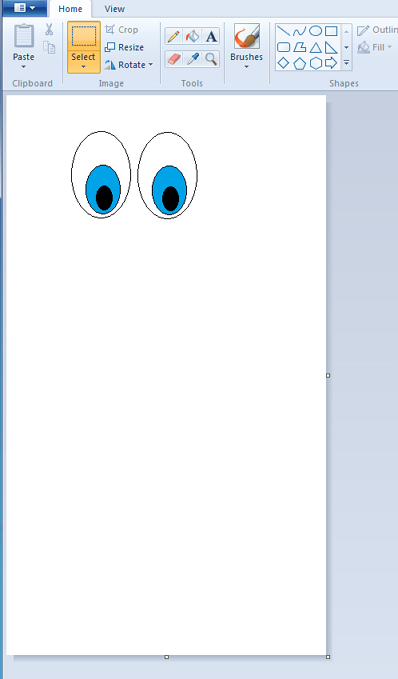
Zoom back out to 100% using the slider...

You can see where the eyes are on the canvas.
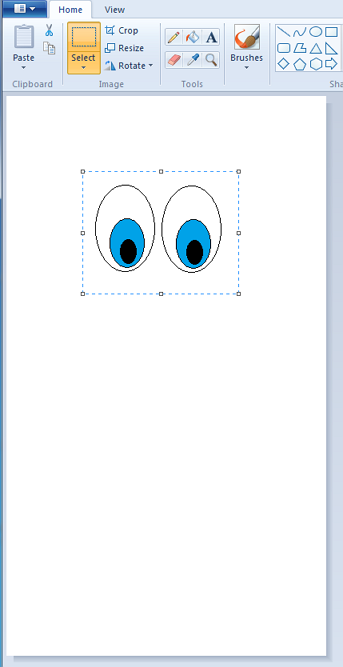
Select the eyes and move them so you have enough room for the head and hair.
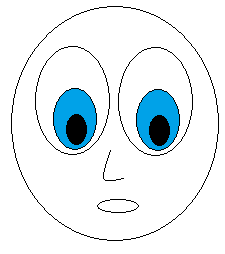
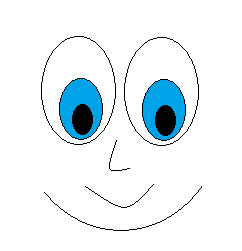
3. Head, Mouth, Nose
Draw the head
Use the Ellipse tool to draw the shape of the head. Make sure that Color 1 is set to black, and to the thinnest Size...

Draw out the head (not too big, make sure there's enough room above for hair)...
If it is filled with color, covering your eyes, change Fill to "None".
Nose
Select the Curve tool.

Click and drag out an angled line like this..
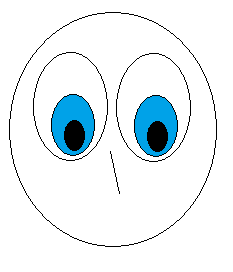
Then click near to pull it out and curve it.
Click on another tool to stop the curving (it wants to curve 2x).
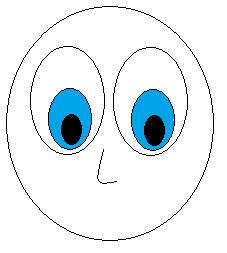
Mouth
Use the Curve tool again for the mouth and do the same thing...
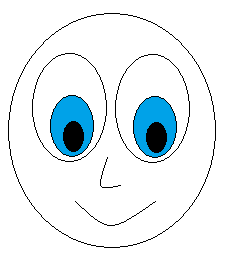
... or use an Ellipse to draw out the mouth.
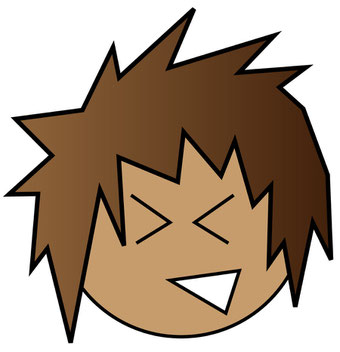
4. Hair
You have several options for drawing the hair...
Line tool
Outline the hair with lines and then fill in with the Paint Bucket.
Pencil tool
- Draw an outline for the hair with the Pencil tool (or a simpler Brush)
- Then use the Eraser to clean up the lines.
- Fill with Paint Bucket.

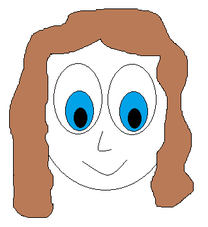

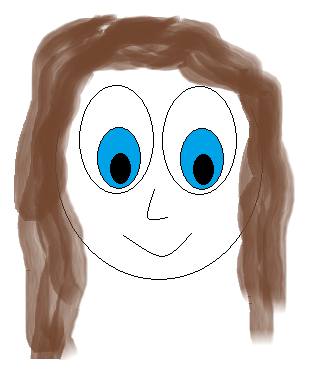
Brush tool
You may want to erase part of the head outline before you start drawing the hair.
Try out different Brushes...
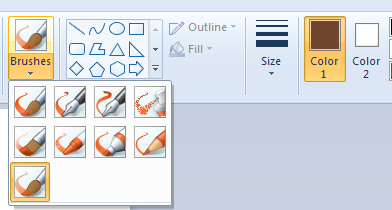
Draw out the hair (mine is just an example, you can do better I'm sure)...
5. Body & Clothes
Tips:
- Draw in the rest of the body using the Pencil tool, etc.
- Use the Paint Bucket to fill in colors.
- Draw on top with Pencil or Brush to add details.
- Zoom in a lot when drawing so you can add details.